To set or change your blog post’s featured image in WordPress, follow these simple 6 steps.
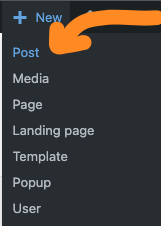
#1 Open up a new blog post:
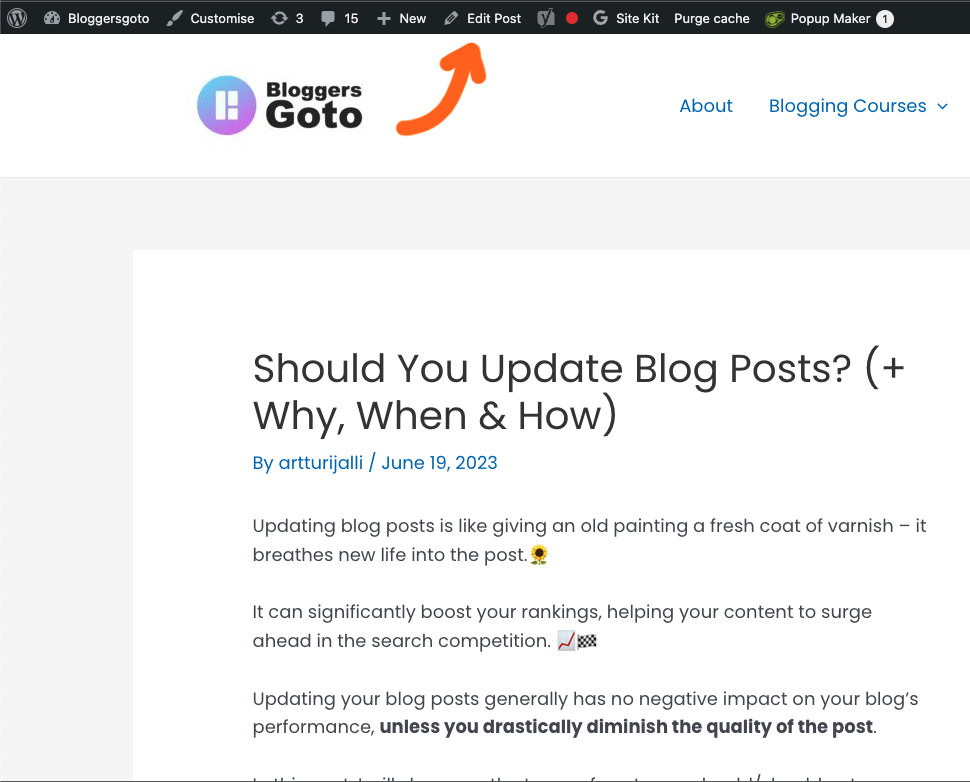
Or edit an existing one:
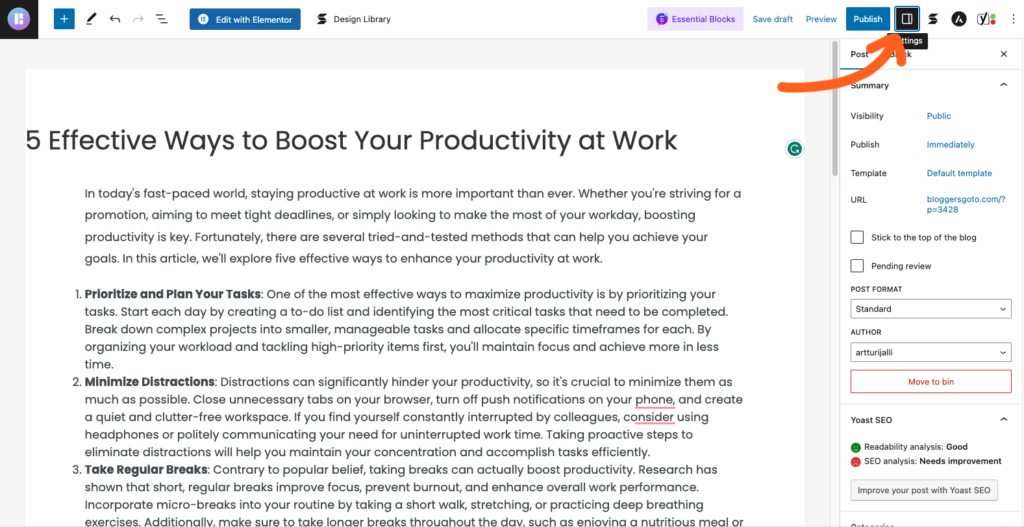
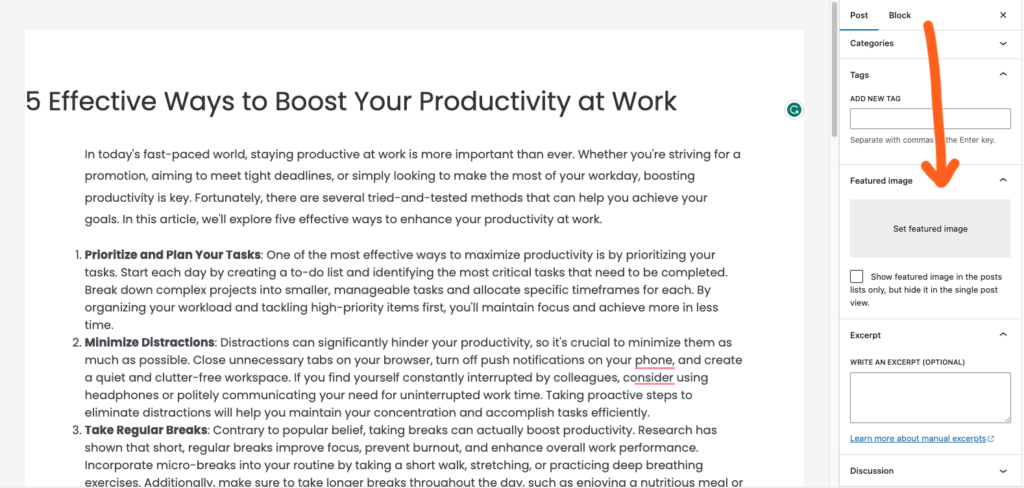
#2 Toggle the settings view of the post:
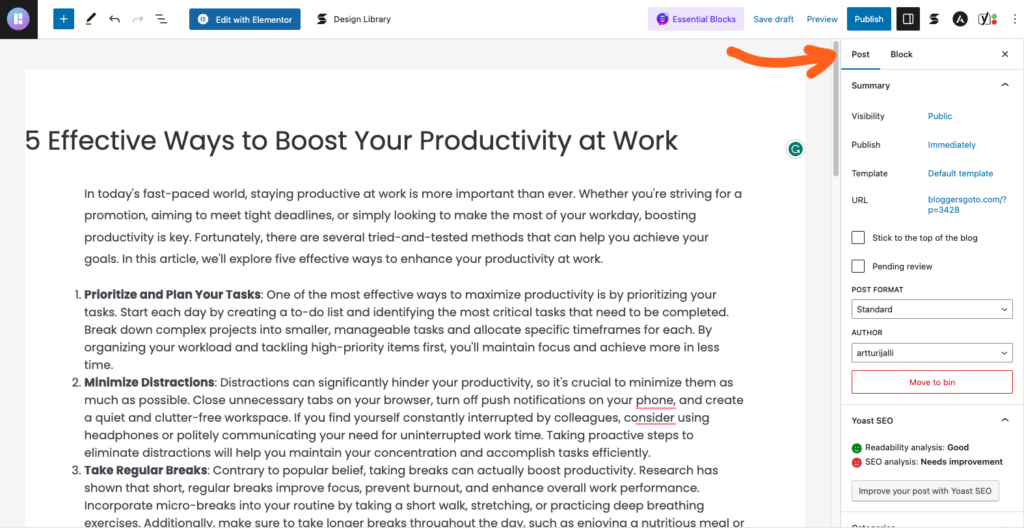
#3 Select the “Post” column:
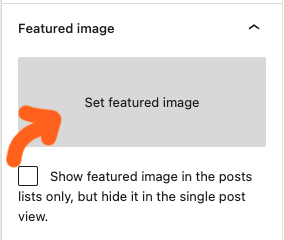
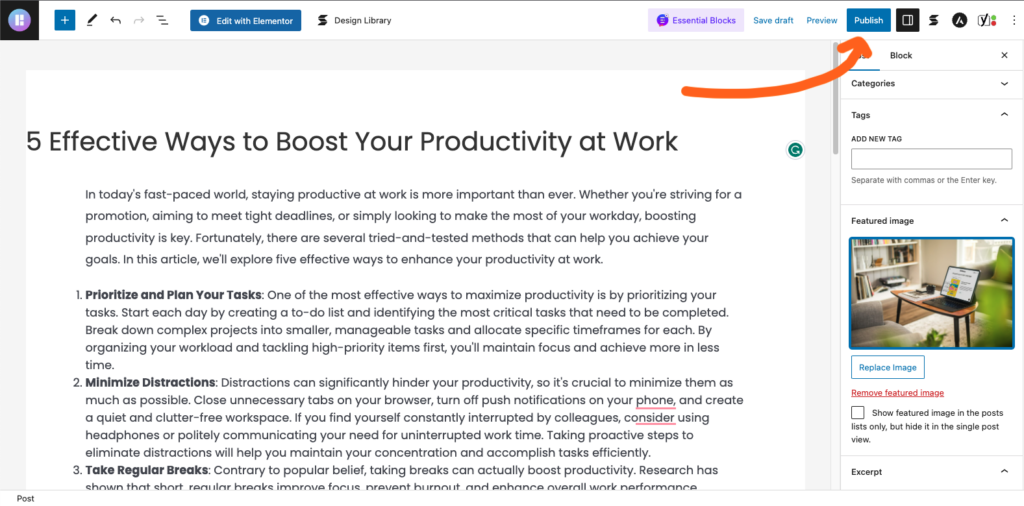
#4 Scroll down until you see “Featured Image”:
#5 Drag and drop the image into the box:
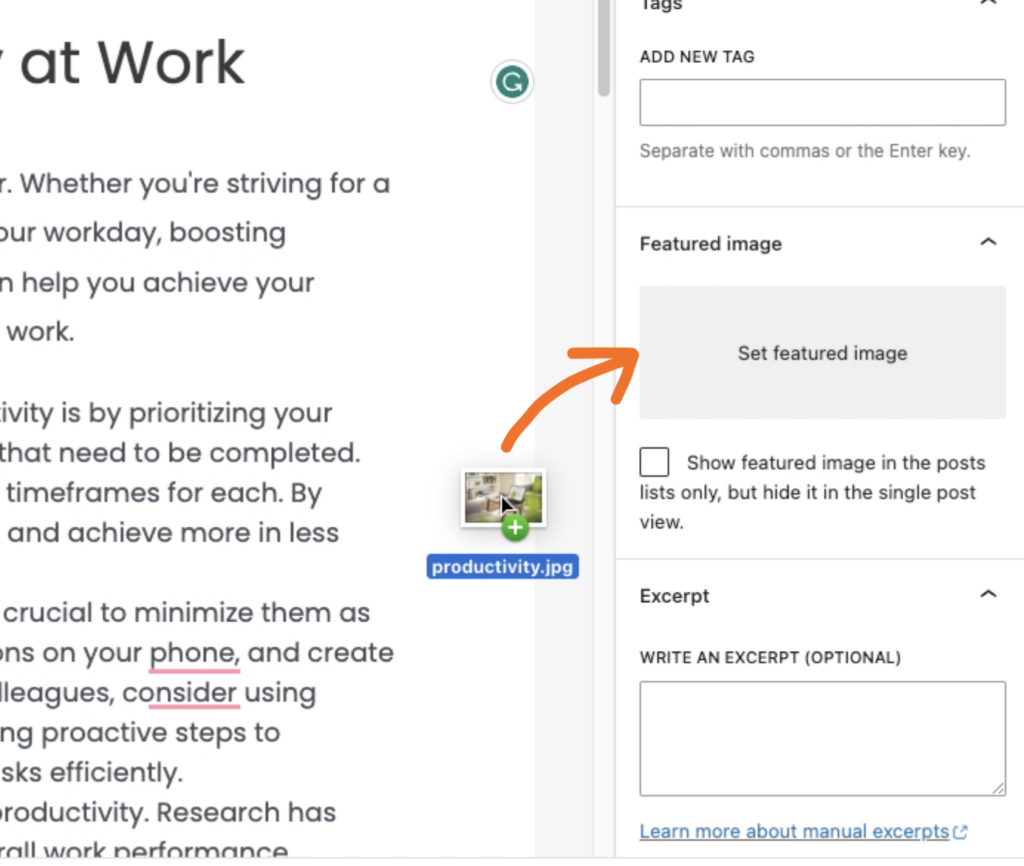
Or just click the “Set featured image” and choose the image from your media library:
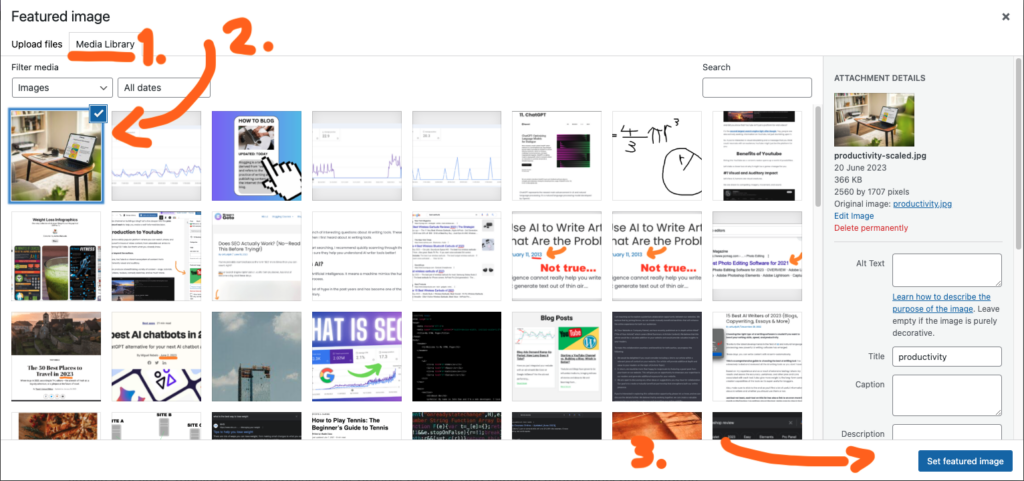
Just don’t forget to click “Set featured image” before continuing.
#6 Update or publish the blog post:
And that’s it. Now you have set/changed your featured image!
Why Should You Care?
A featured image (also known as a thumbnail) is often the first visual element that people encounter when they come across your content, be it a blog post, an article, a social media post, or an online ad.
A featured image is useful for many reasons, including:
- Attract Attention: A well-chosen featured image can attract a reader’s attention, encouraging them to click on the content. This can be especially useful if someone (or you) shares your post on social media.
- Set Expectations: The image can give an idea of what the content is about, setting the reader’s expectations.
- Increase Engagement: Images increase the engagement of a piece with the audience. Posts with images receive more clicks, shares, and comments.
- Enhance Aesthetics: A good featured image can make your content more visually appealing, improving the overall aesthetics of your website or social media page.
Here are some tips for creating or finding effective featured images:
- Relevance: The image should be directly relevant to the content. If the connection is too vague or abstract, it may confuse readers rather than attract them.
- Quality: The image should be high-resolution and visually appealing. Blurry or pixelated images can give the impression of low-quality content.
- Simplicity: Avoid overly complex images. The image should be able to communicate its message at a glance.
- Originality: If possible, use original images or illustrations. Stock photos can sometimes feel generic or unauthentic.
- Legality: Make sure you have the right to use the image. Use images under the Creative Commons license, purchase stock images, or create your own.
- Size: Ensure your image is the correct size for the platform it’s on. Different social media platforms have different ideal image sizes.
Remember, a featured image can make or break the first impression of your content. So, invest the necessary time and resources to get it right.
Thanks for reading. Happy blogging!