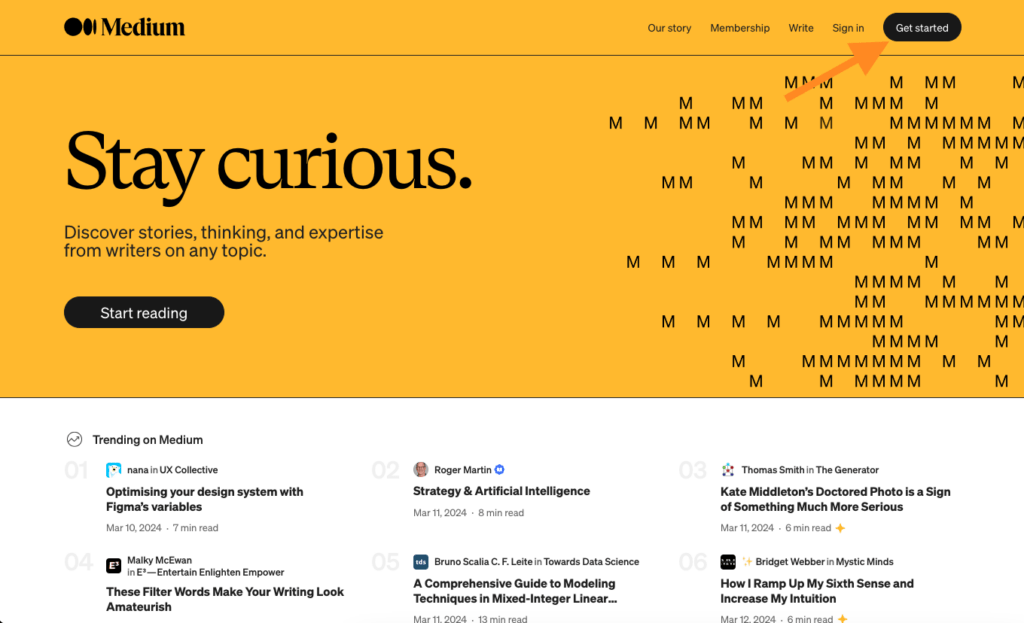
Medium.com the “YouTube for bloggers”.
It’s a blogging platform where people can read, write, and share articles on a variety of topics.
Medium is easy to use. Anyone can publish stories and thoughts for free!
Medium offers a platform for writers of all levels, from beginners to experts, to express themselves and reach a wider audience. It’s a place for finding and sharing new ideas, personal experiences, and insightful commentary on current events and trends.
Let me show you how to get started!
Signing Up
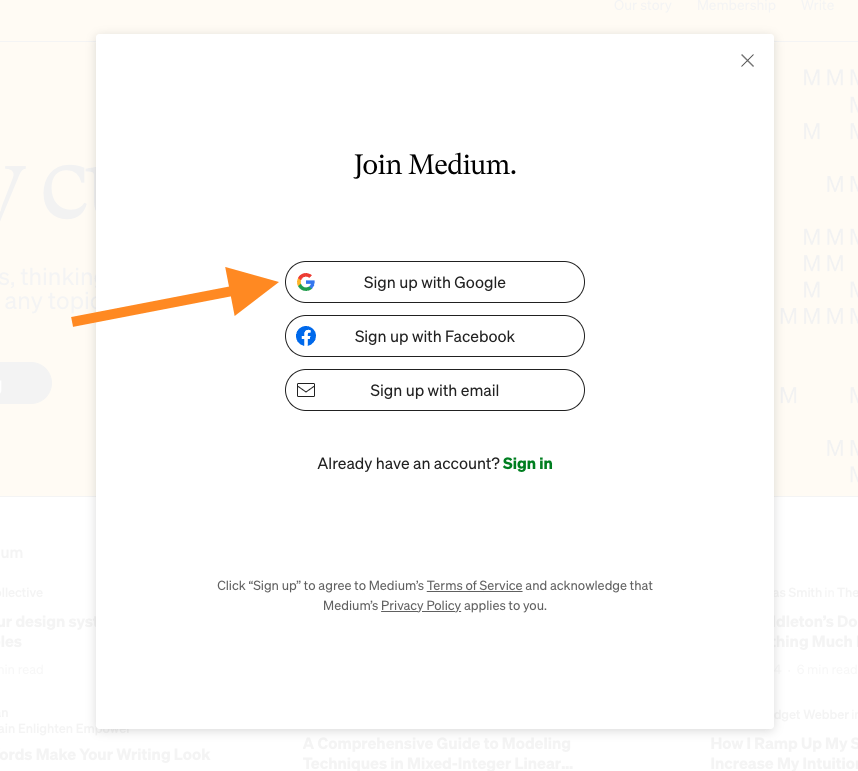
First, you need to sign up. It’s free!
I use Google to sign up because it’s just 2 clicks and you’re in.
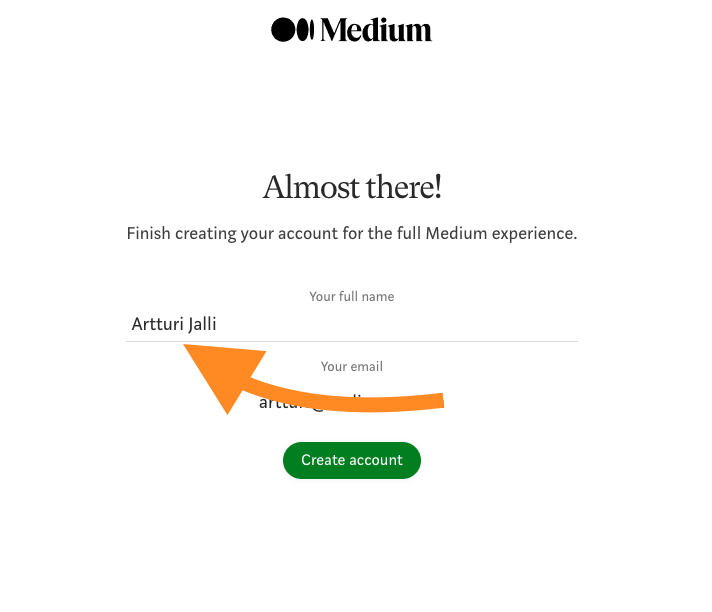
Then give your account a name. I highly recommend using your own name. This is relatable and authentic. Especially in the day and age of AI…
At the end of the day, Medium promotes personal stories and insights. The easiest box to tick is showing up with your actual name!
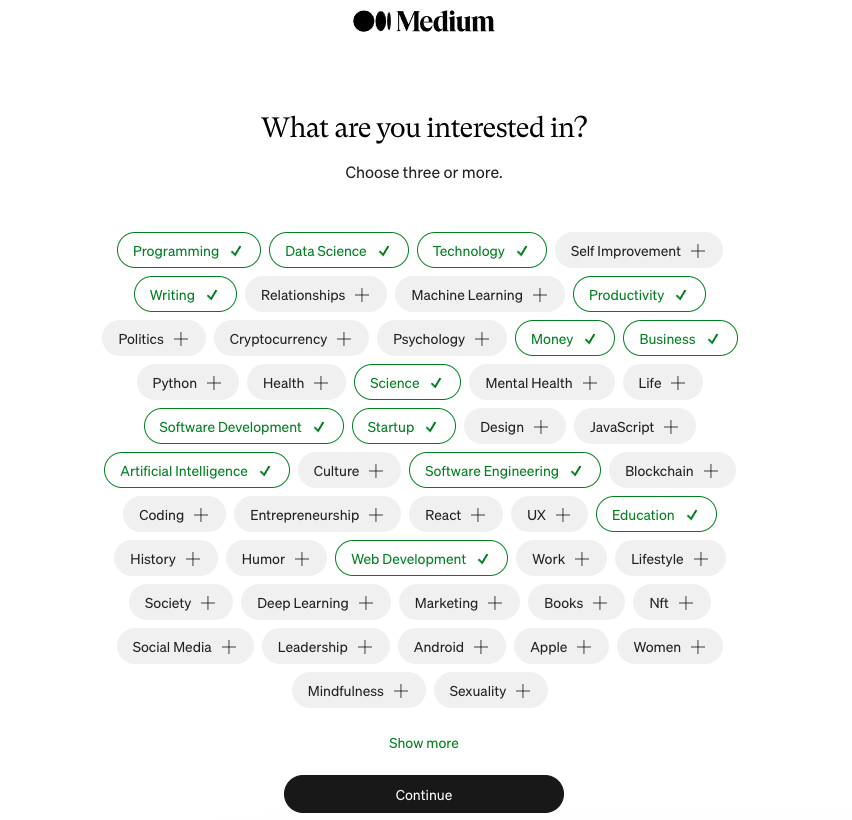
Then it’s time to choose your interests. These can be anything and they don’t have to be related to what you want to write on the platform.
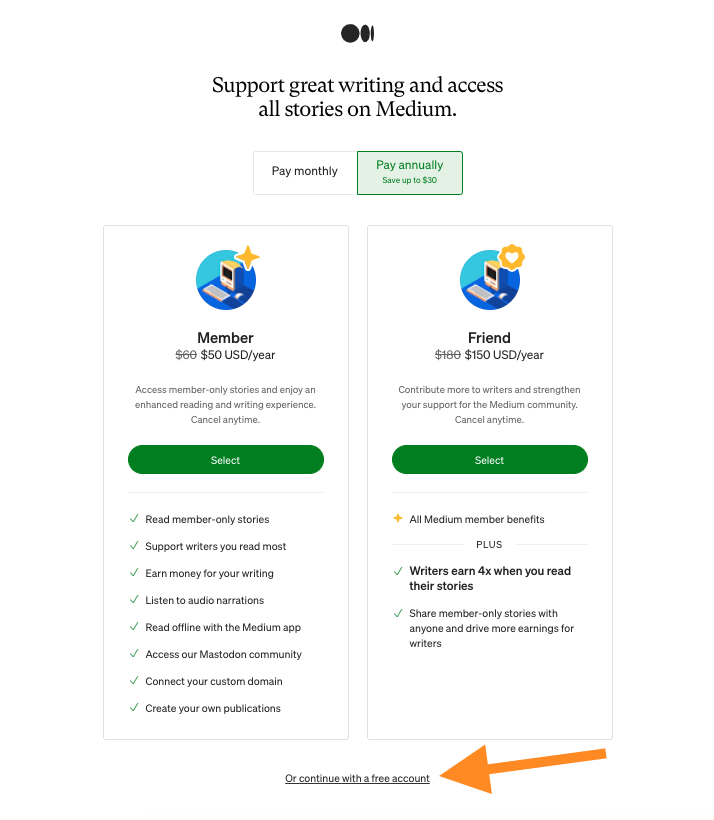
After this step, you can optionally become a paid member or Friend. But you can skip this for now just to get started!
Then, before I will show you how to write on the platform, let me show you how it works in the first place.
Even if you’re not planning to be an active reader but a publisher instead, it still makes sense to know how your audience uses the platform.
Using Medium as a Reader
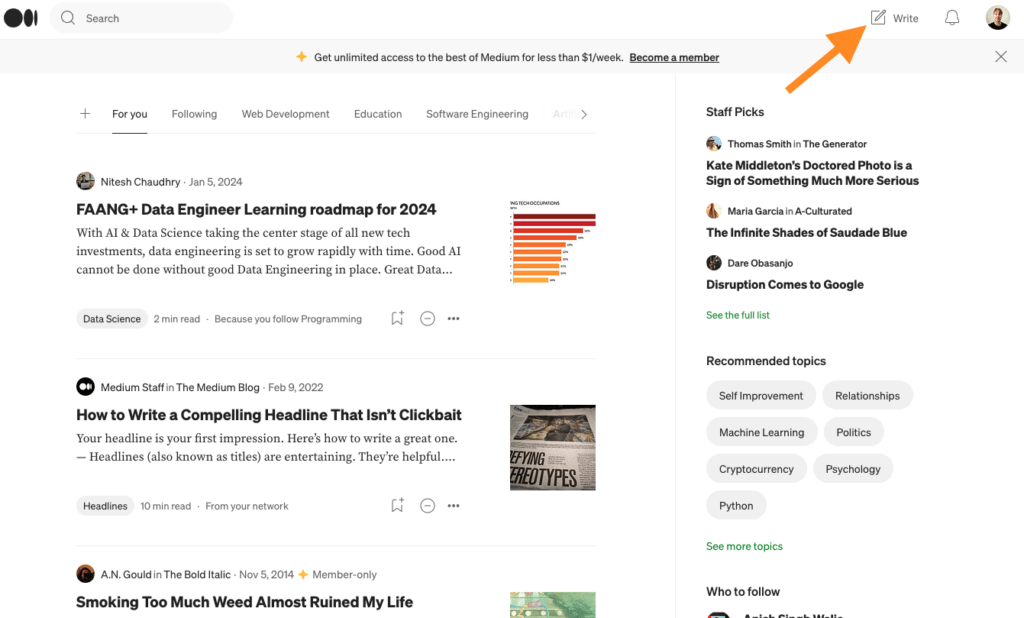
Once you’ve signed up, this is the main view you will see.

This is your main feed. There you can find insightful stories, topics, and authors to follow. This is the view people check similar to any other social media channel.
As a first-time user, you should explore the platform a bit at first to see how it works.
So let’s start off by exploring the topics.
To find interesting topics that people follow on the platform, click “Search” and “Explore topics“.
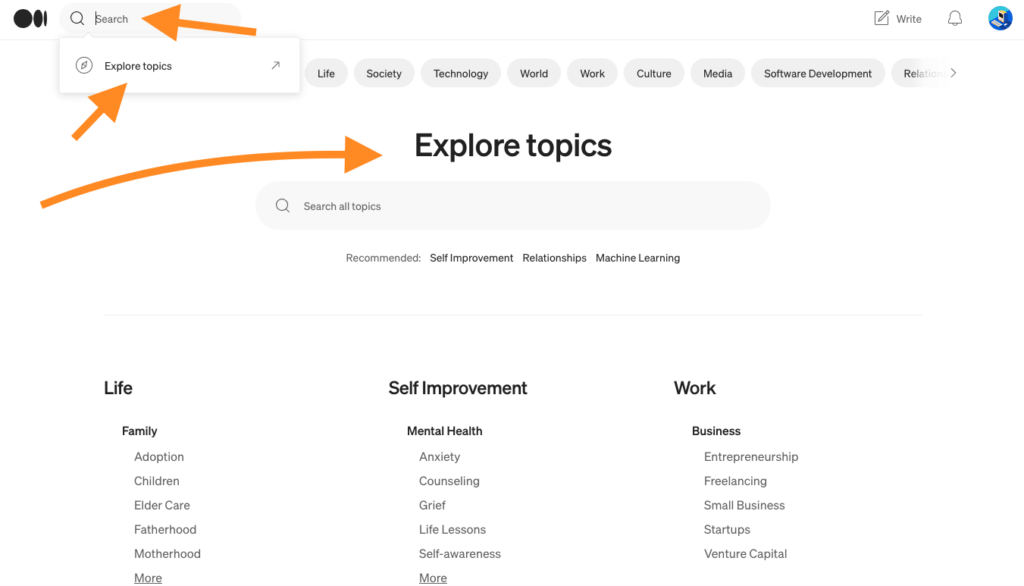
For example, here’s Technology:
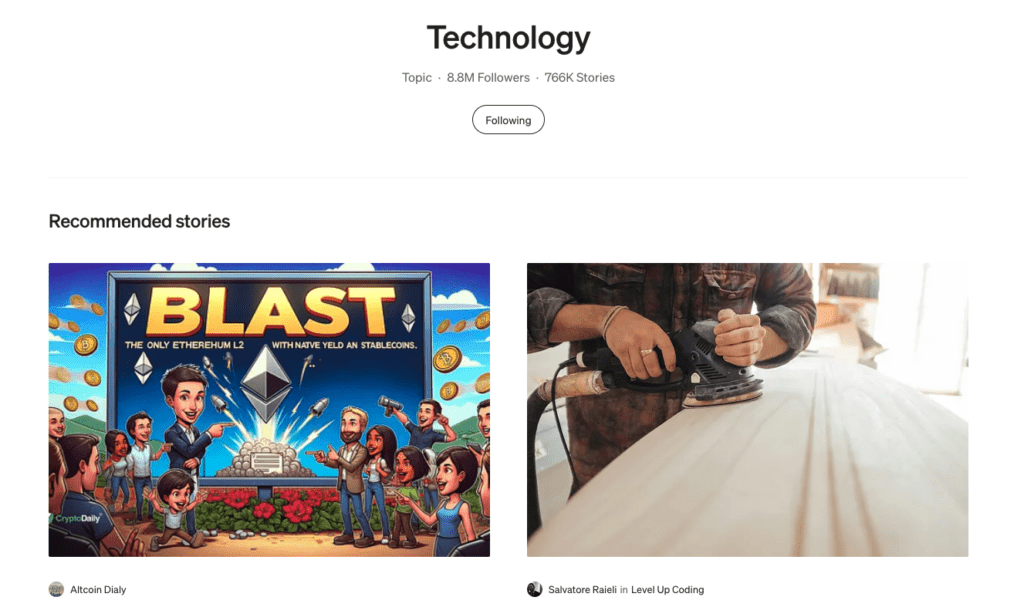
This is the space where all the stories tagged with “Technology” go to. You can see some relevant and recent stories on the top of the page.
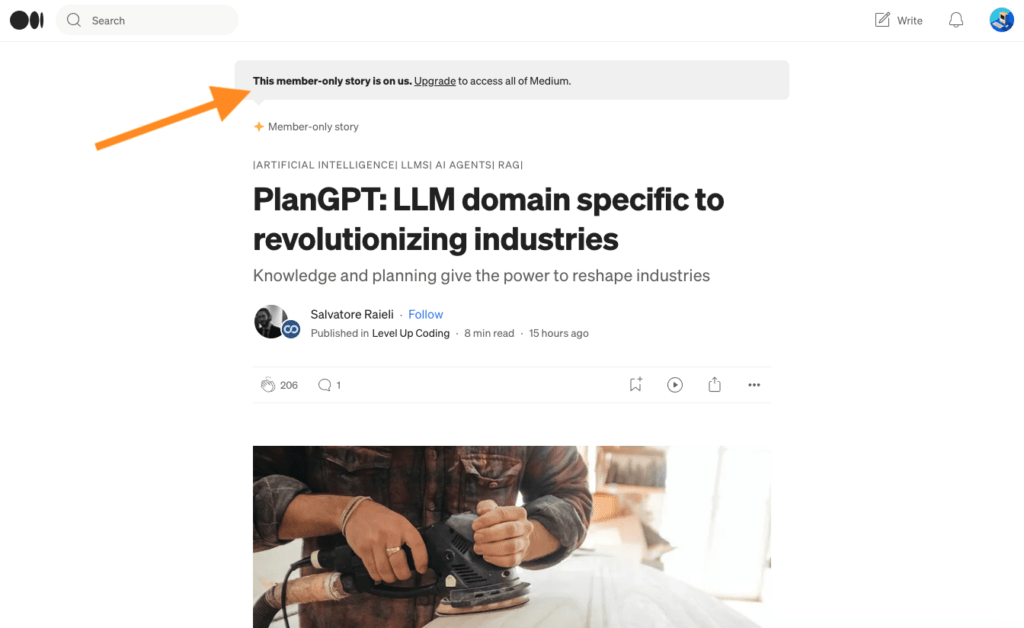
When you open one, chances are you’re going to see a members-only message. This means that the story is behind a paywall. Luckily, you can read 5 members-only stories per month.
Next, let’s talk about publications and people.
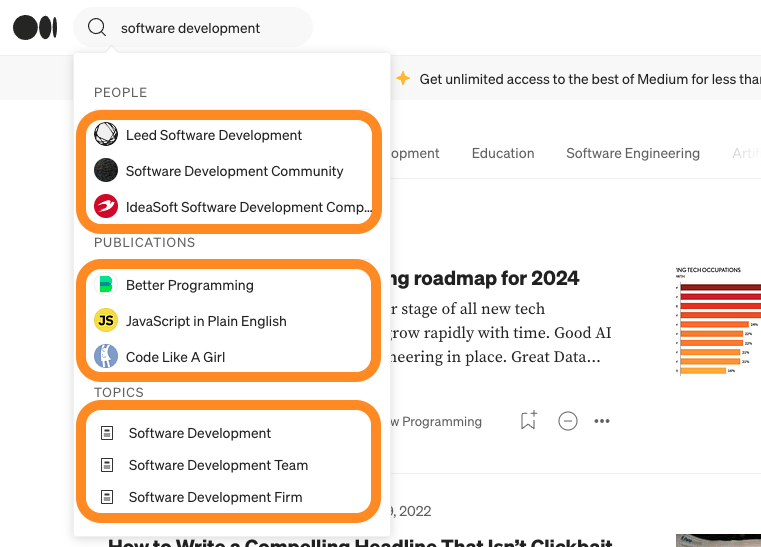
When you search the search bar, you’re going to see three categories:
- People
- Publications
- Topics
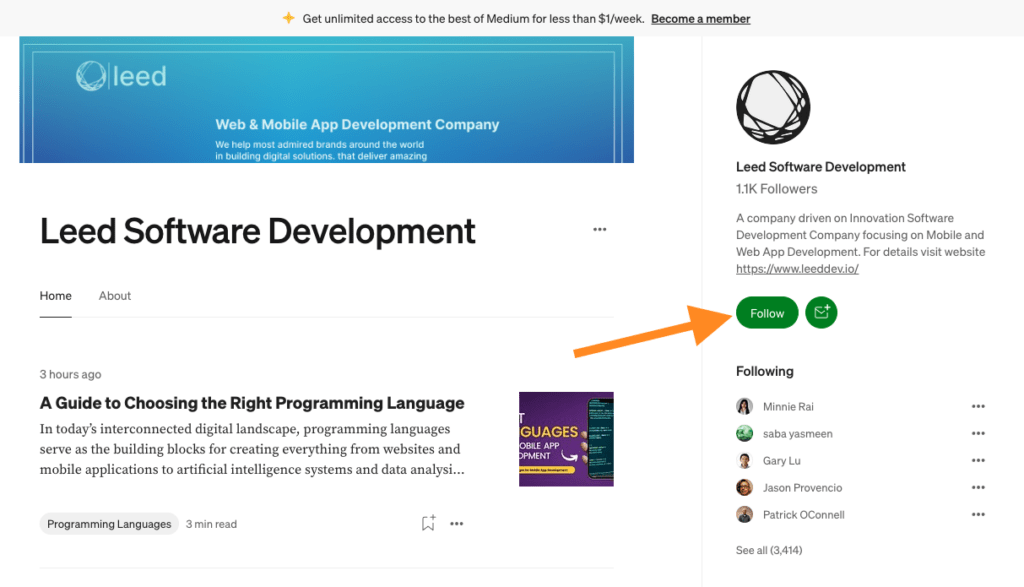
The “People” are basically individual Medium profiles or users. These are who you should follow if you’re interested in that person’s stories and want them to appear on your feed.
Once you choose a user from the list, you will see their profile. You can for example follow this user if you like their content.
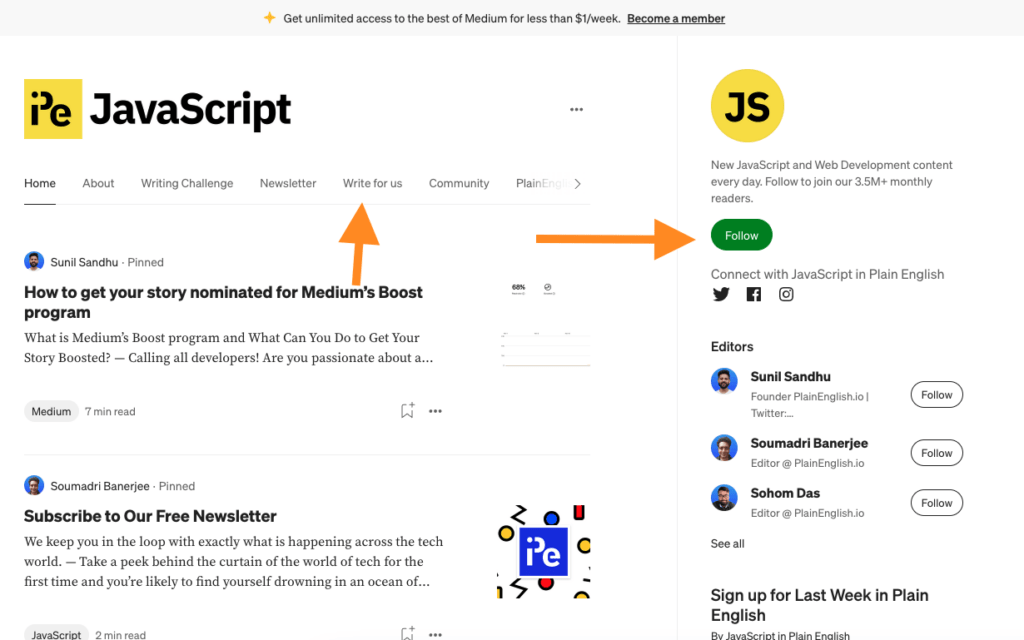
Then there are publications. In Medium, publications are spaces where people share a common interest. Those are like smaller “sub-Mediums”.
For example, let’s search for “Software development” again:
If you now click on “JavaScript in Plain English”, it opens up a publication page. Similar to traditional users, you can also follow a publication on Medium. On top of that, you can apply to become a writer. But more about that later!
Then let’s talk about interaction with stories on Medium.
Similar to any other social media platform, you can interact with Medium stories by leaving likes and comments.
For example, here’s a story I just opened up:
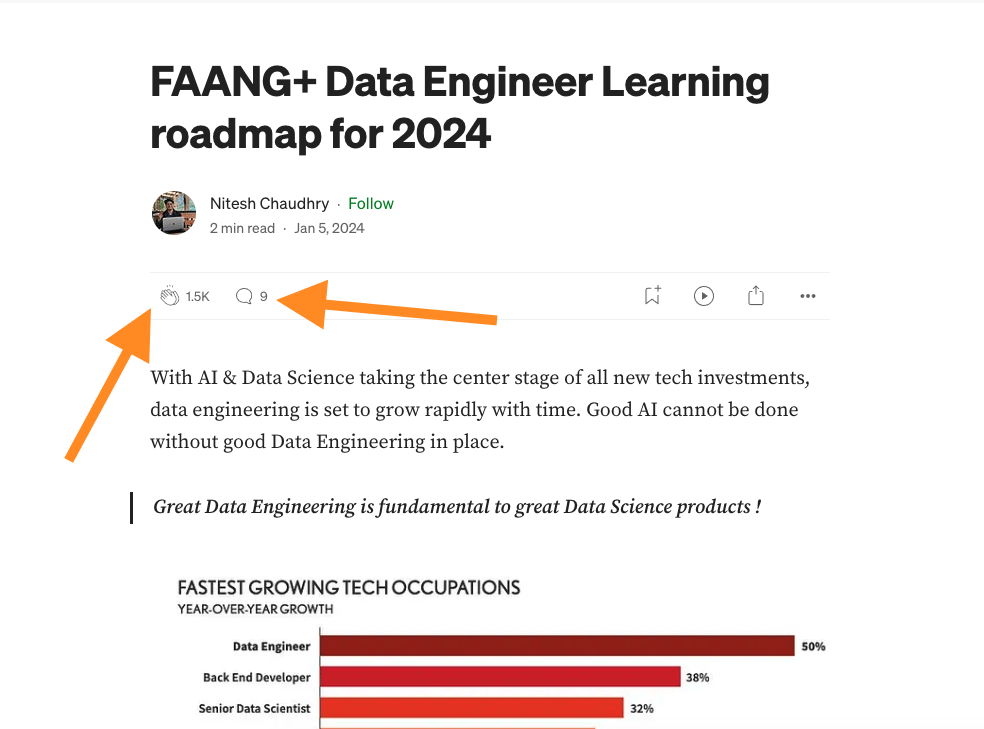
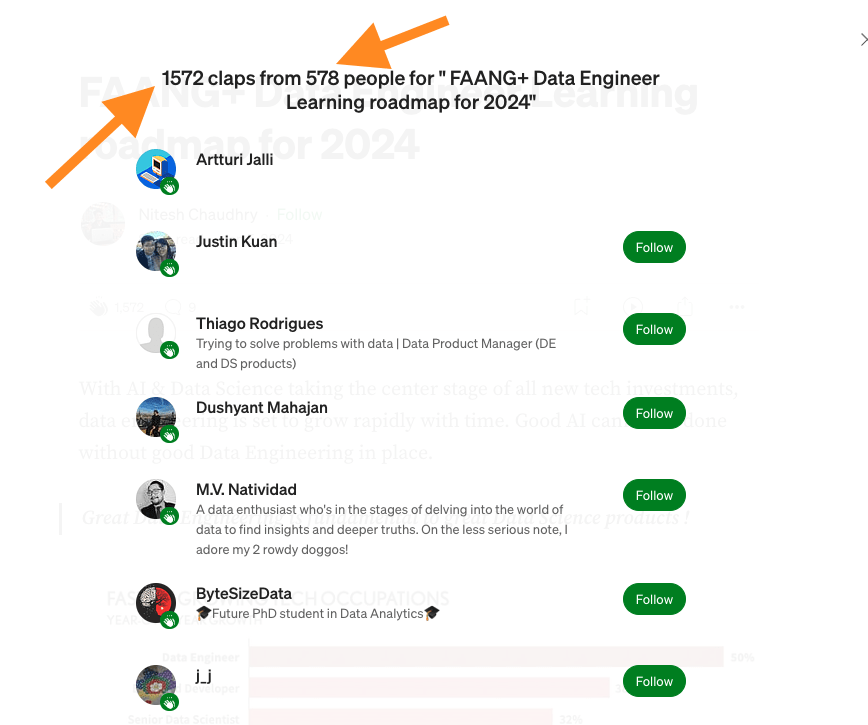
By hitting that clap icon, you can like the story. If you hit that clap multiple times, you can give even more likes to the story. If there’s a perfect story that you absolutely love, make sure to give it all the 50 claps!
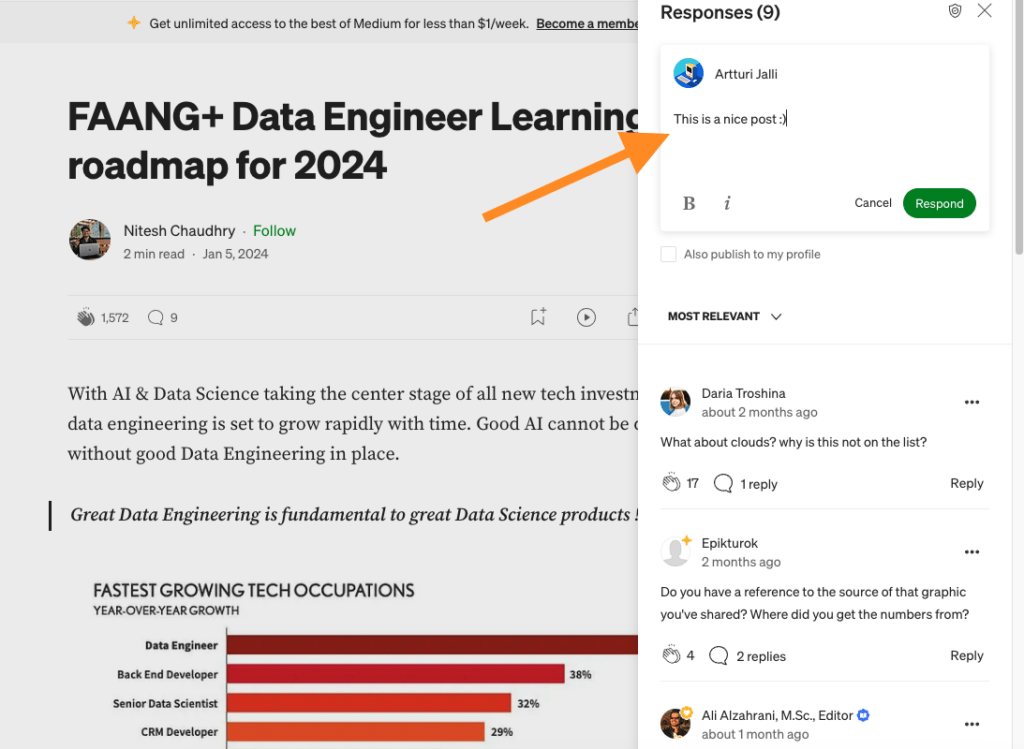
Then you can also leave comments to stories by hitting that chat bubble icon:
Now you know how to use Medium.com as a reader. You know how to find stories and publications, and how to interact with the authors by leaving claps and comments.
Then it’s time to start preparing your profile to become the next top author on the platform.
This happens of course by designing the profile.
Designing Profile
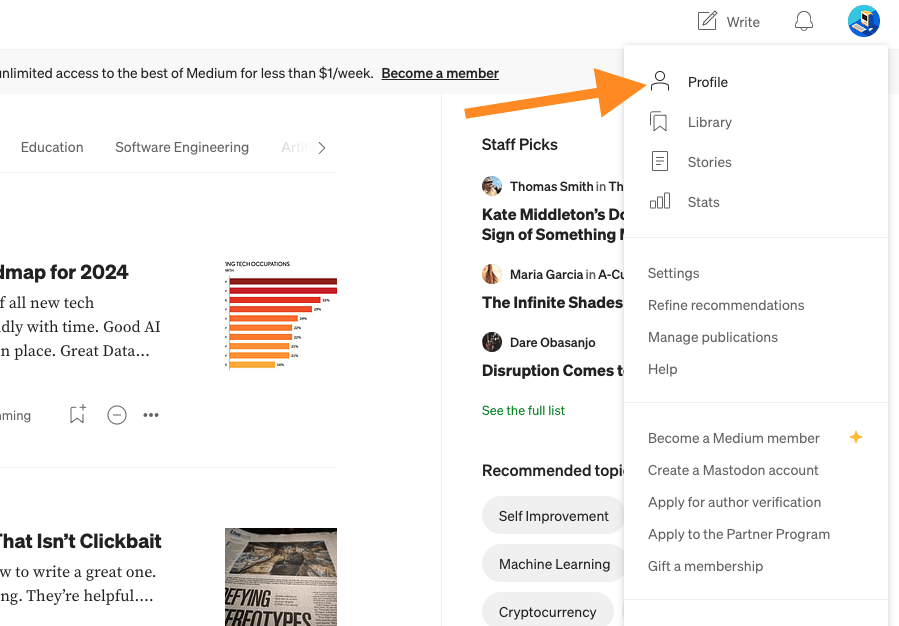
First, head over to your profile icon on the top-right corner on Medium and click “Profile”.
Then hit “Edit profile”:

The first thing you should do is change your default image to an image of yourself.
Don’t make this too hard for you.
Just take a selfie right where you’re at and use that. The more authentic the image, the better. You want to be yourself, not some professional model, so no studio quality is needed.
Look at the one I used:
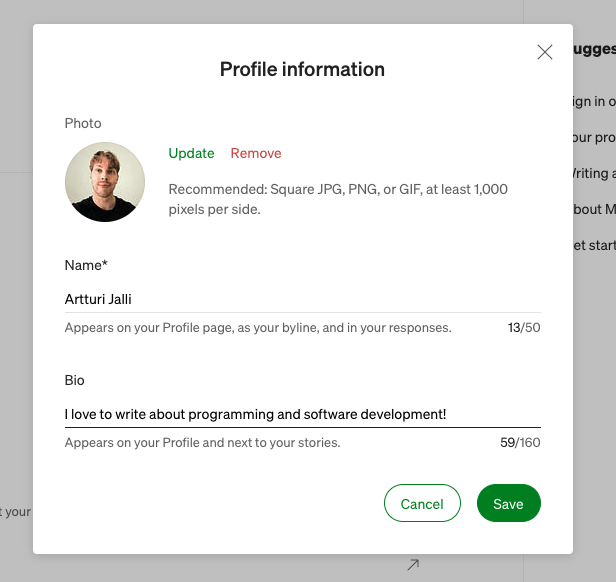
Just a traditional selfie taken with my smartphone.
Also, at this point, you should specify a short Bio for your profile. Just let the visitor know why they should follow you. Once again, don’t make it too hard.
If you for example like coding and you’re going to write about programming, just let the reader know you share insightful stories about programming. That’s it!
Don’t try to use fancy words, act like someone else, or try to be flashy. Keep it minimal and authentic. As long as you’re nothing but yourself, that’s enough!
Now your profile is good to go.
Then, when it comes to the design, I don’t recommend messing around with it. Most authors (me included) don’t use any special design. Instead, it seems to be a good strategy to roll with the out-of-the-box design. This looks decent and professional to begin with, so why change it?
With your profile and design all set, let’s move on to writing your first story.
Writing a Story
To write a story on Medium, click “Write” on the top-right corner.
This opens up the Medium editor. It’s an easy-to-use tool with which you can format your content and make it look nice, and professional, and enrich it with multi-media content.
If you’re not seeing the hints bar, click the three dots on the top-right corner and click “Hints and keyboard shortcuts”.
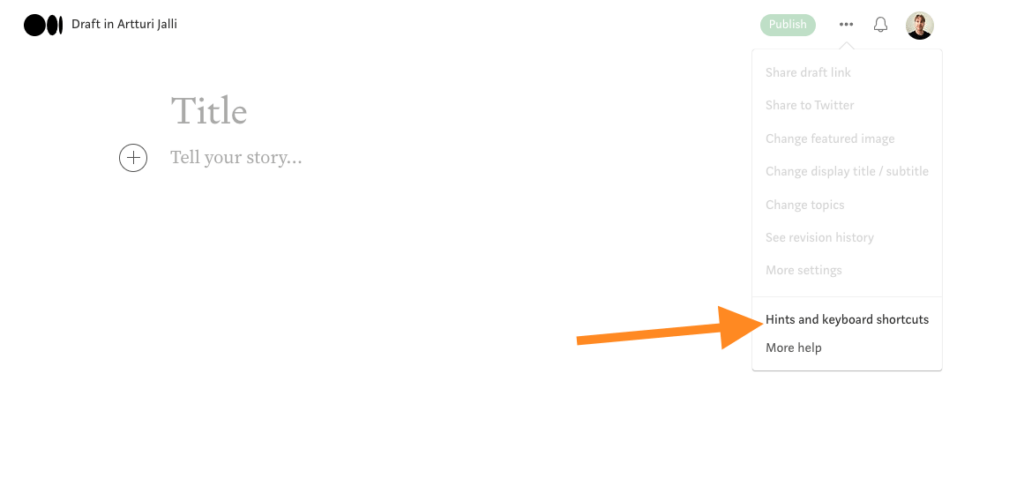
This reveals the hints for using the editor to make your stories look better. I recommend running it through. Although, I will cover everything related here as well!
Let me show you how to use the editor with a concrete example.
Here’s an initial story that I’m about to publish. Now, it’s just a long wall of text that doesn’t look too appealing, right?
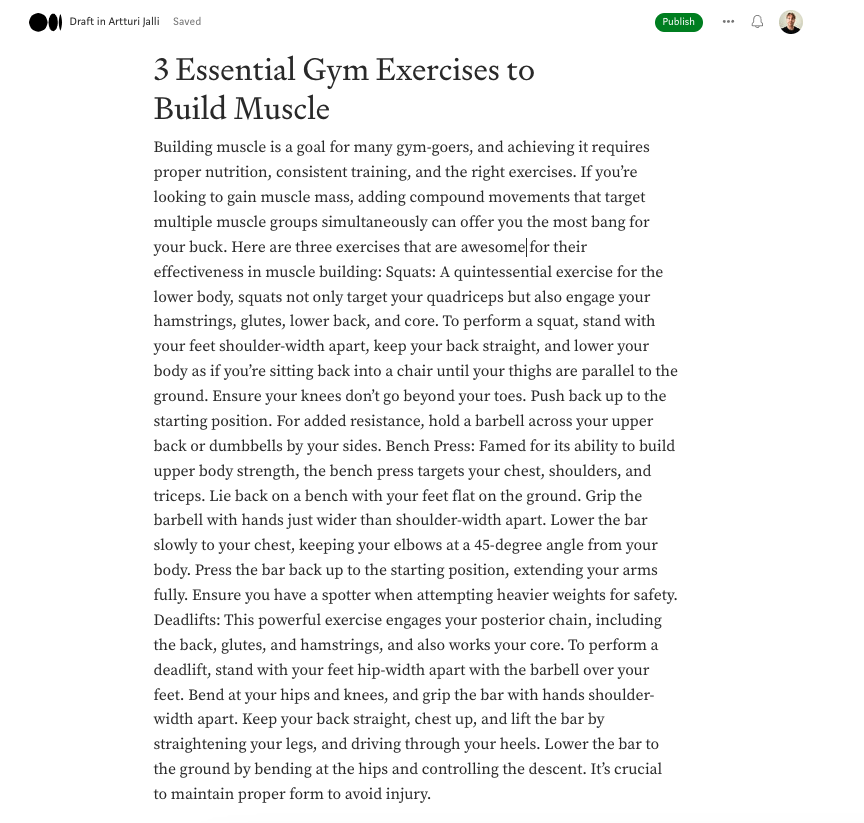
But let’s start making edits to it with Medium’s editor. My end goal is to make the above story look more like this:
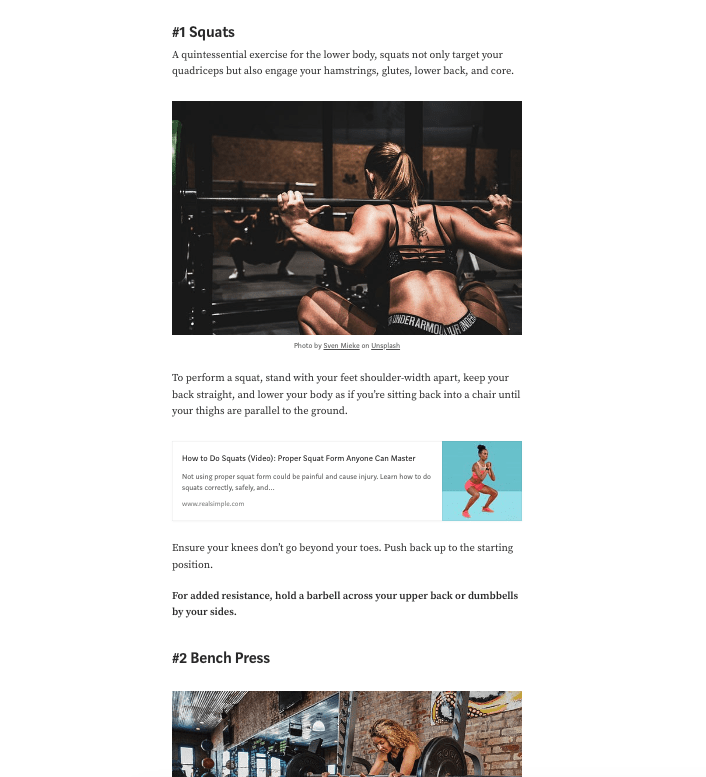
The first thing you can do is choose a featured image for your story. This happens by hitting enter after the title. This will open up the “+” icon. (You can do this anywhere on your story to open up the multimedia features.)
Then, choose the second icon from the left:
This is the built-in image library integration with Medium. You can find professional stock footage for your stories and use those images for free.
For example, if you search for “fitness”, you will see images related to fitness:
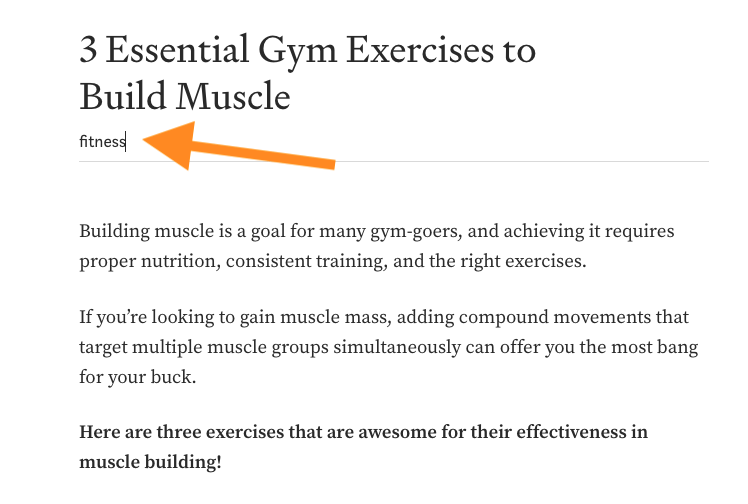
For example, I will choose an image with a woman doing sit-ups. To do this, just click the image and it will be added to your story.

Here we go!
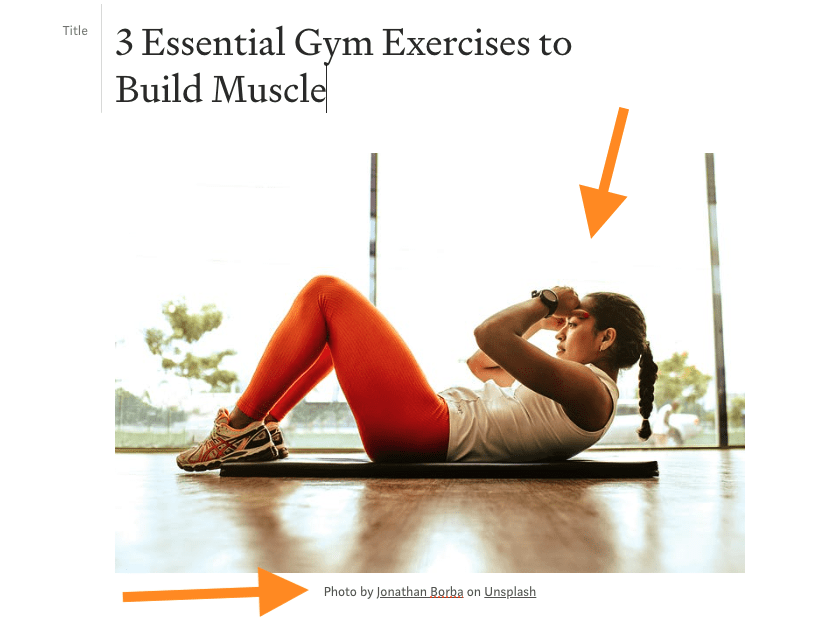
Now the opening of the story looks better as it has this related image.
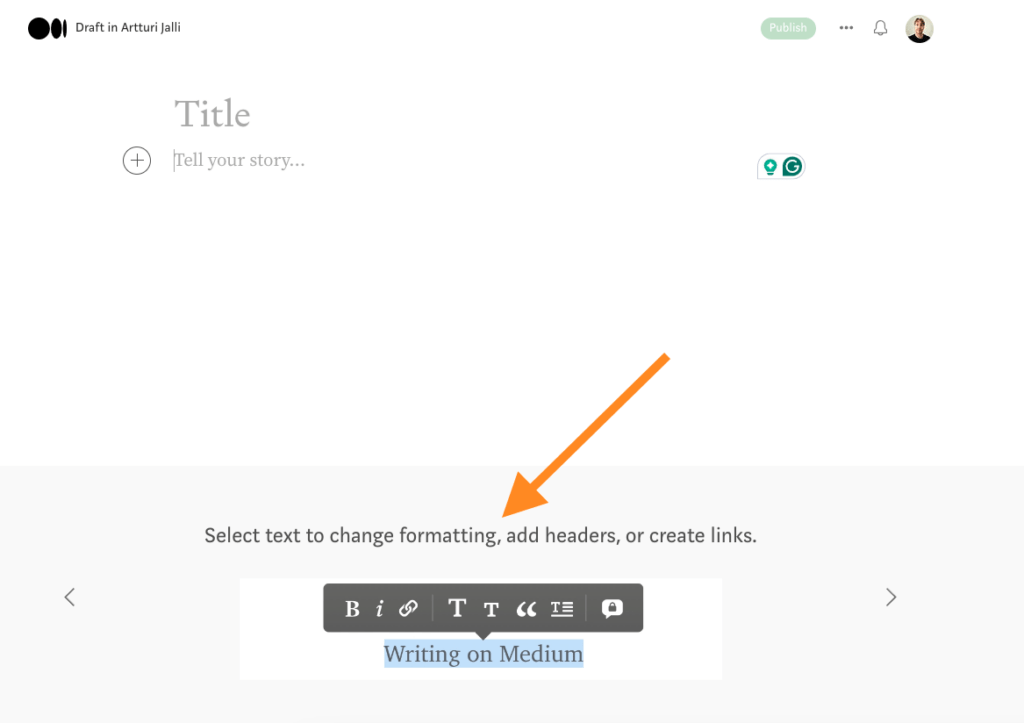
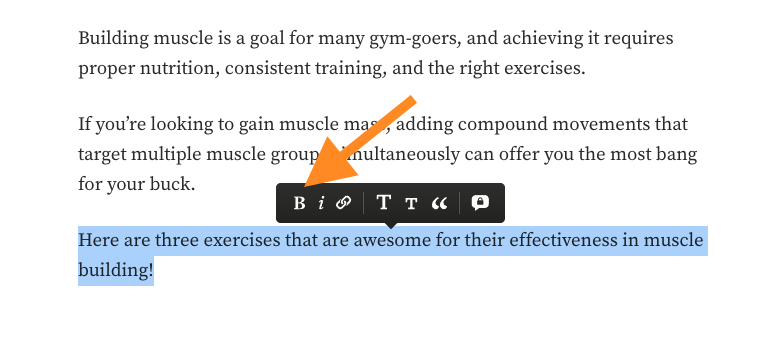
Then, let’s start modifying the story content. For example, you can bold some text to make the text part look richer.
To bold your text, just highlight a piece of text, and hit the “B” icon.
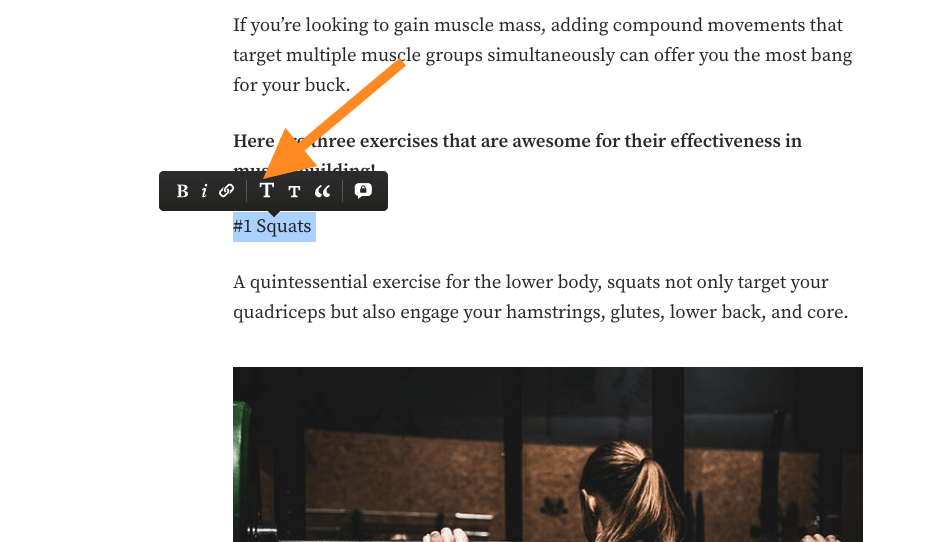
Then it’s time to split the post into subheadings.
Instead of having to read one large chunk of text, it’s much better to split the post into smaller sections. These are easier to follow, and they don’t overwhelm the visitors. Most importantly, these give a good idea of what’s happening in the story even if you’re just scrolling through.
To turn a word or sentence into a subheading, just highlight the word(s) again, and hit that big “T” button. (To create a sub subheading, then you can choose the smaller “T” icon.)
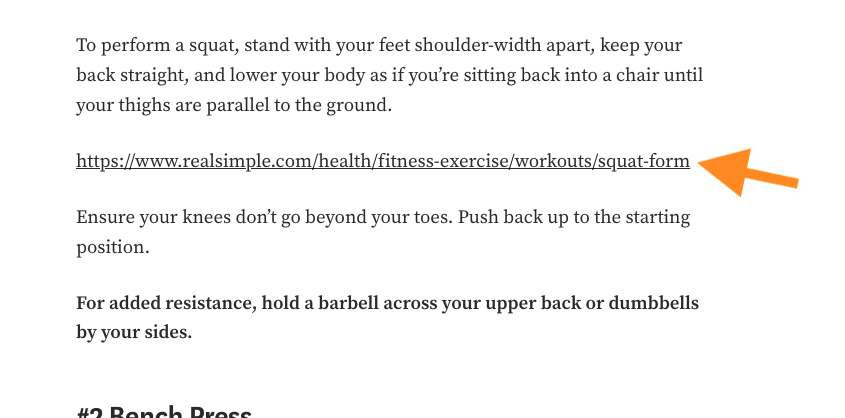
Then, because my sections are quite short, let’s add some further reading for the visitors.
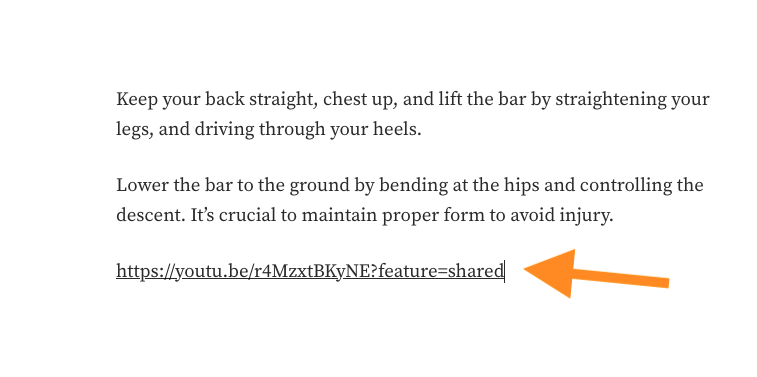
To do this, copy-paste a link to the Medium editor.
Then hit enter and wait for 2 seconds. This allows Medium to render your link into a better-looking preview card of the linked page. Here’s what my story looks like now:
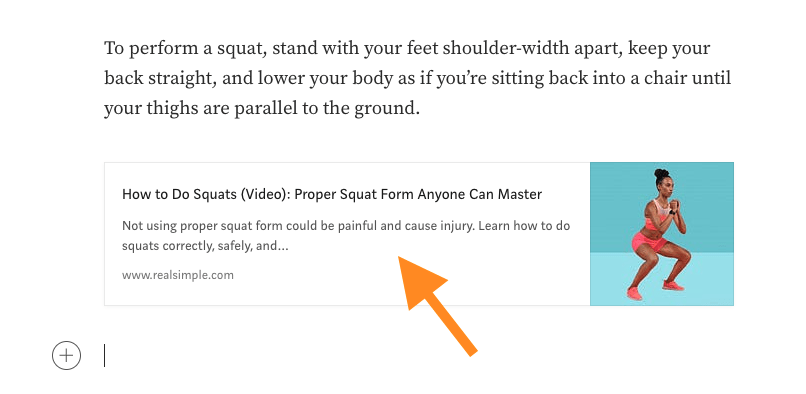
This link looks a lot better than just a plain old link.
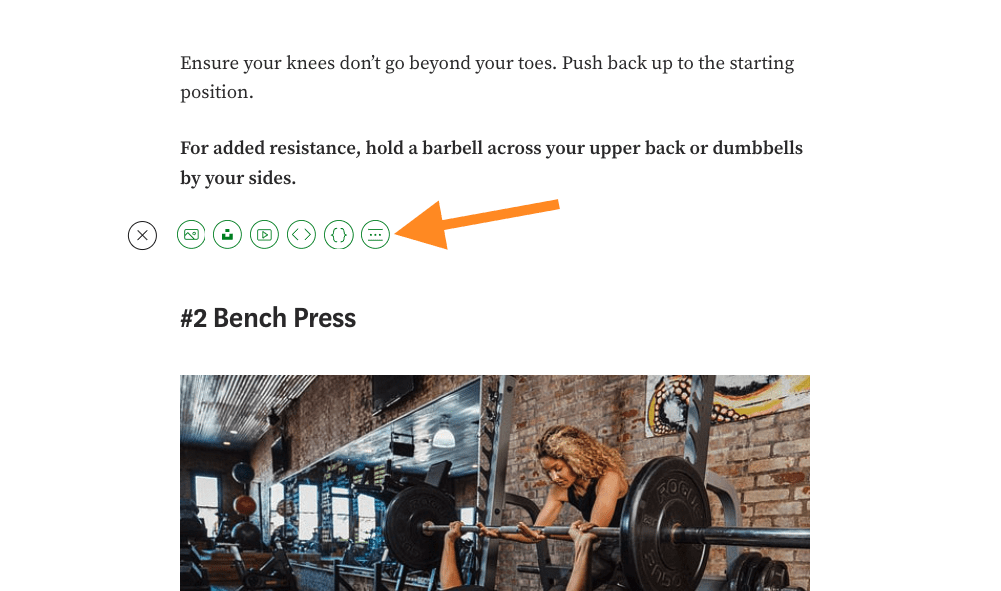
Then, if you want to add more visual separation to your stories than just spaces or images, you can add “Parts” to your stories. These are subtle three dots. For example, you can add these in-between chapters.
To add these parts or spacers to your stories:
- Hit enter to create a new line.
- Click the “+” icon.
- Choose the right-most option.
Here’s an image of myself doing that:
Then you will see three dots like this:
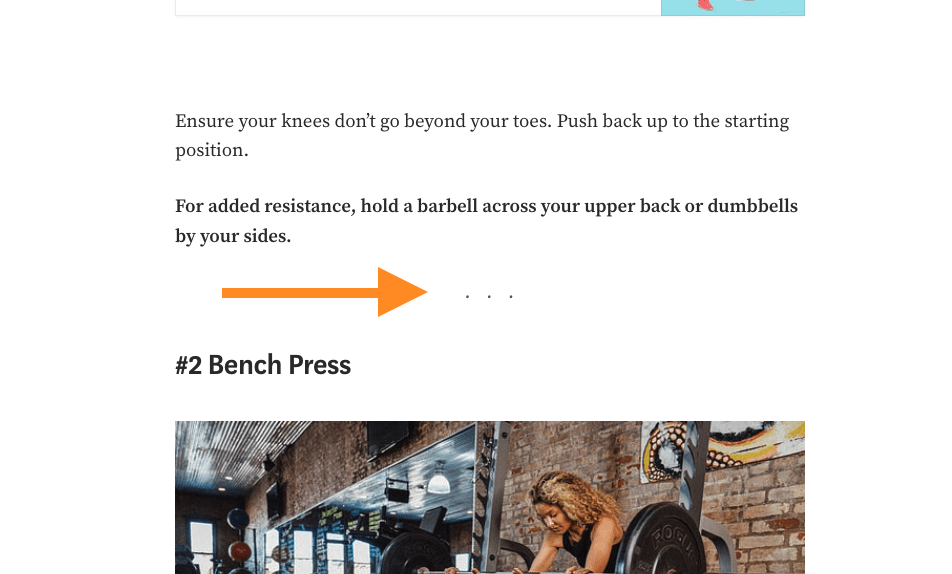
I rarely use it, but I have seen a lot of authors do this and I think it looks nice! Especially if your content is text-heavy, sometimes little extra breathing room won’t hurt.
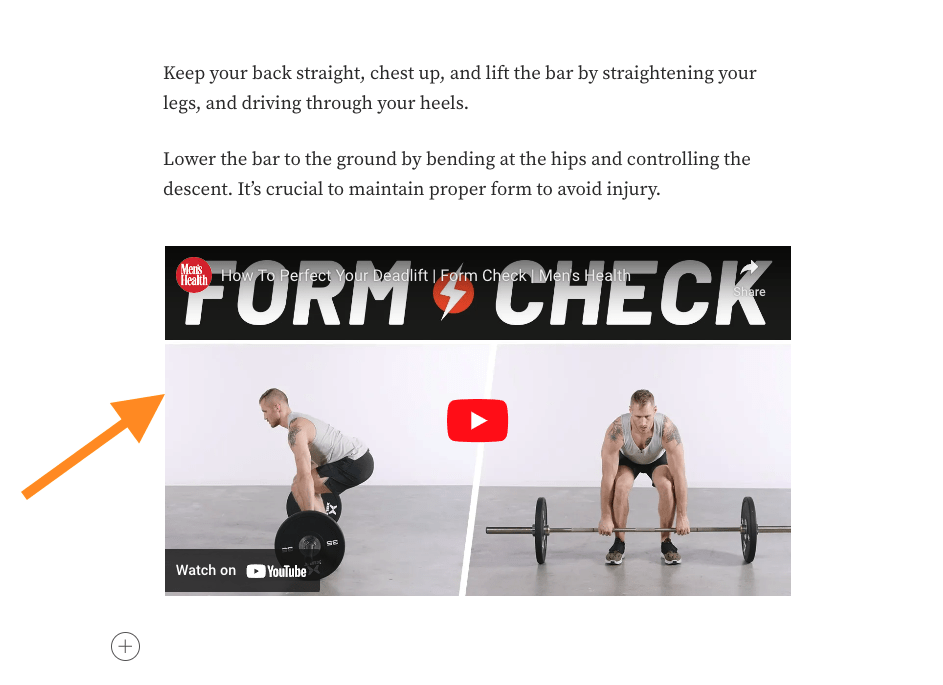
Last but not least, let’s also add a video to the story. Similar to the links, I don’t just want to link to a video, but I want to embed it to the story so that someone can watch it directly from the story.
To do this, just copy-paste a video link to the story, hit enter, and wait for a second.
Medium will render the video nicely to your post like this:
All right, that’s your first story. You now know how to format text nicely and add multimedia content to your stories to enrich the reading experience.
Then, it’s time to publish your story!
Publishing
To publish your story, just hit “Publish”.
This will open up the publishing settings of your story.
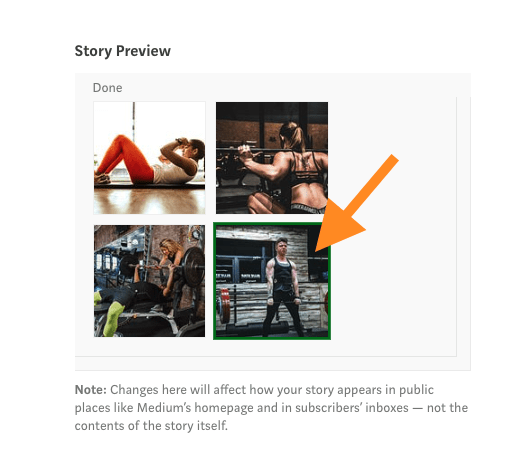
First of all, choose the right preview image for your story. This is the image people will see when you share your story, be it on Medium, WhatsApp group, or a LinkedIn page.
Usually, the preview image is the first one that you’ve used.
In that case, you don’t have to choose that because it has been chosen automatically. But if you want to pick another image, then click on “Change preview image” and choose the image that best fits there.
Then it’s time to help Medium’s algorithm find the right audience for your story. This happens by giving the story the categories it belongs to. You can specify 5 of these at most, so use them carefully!
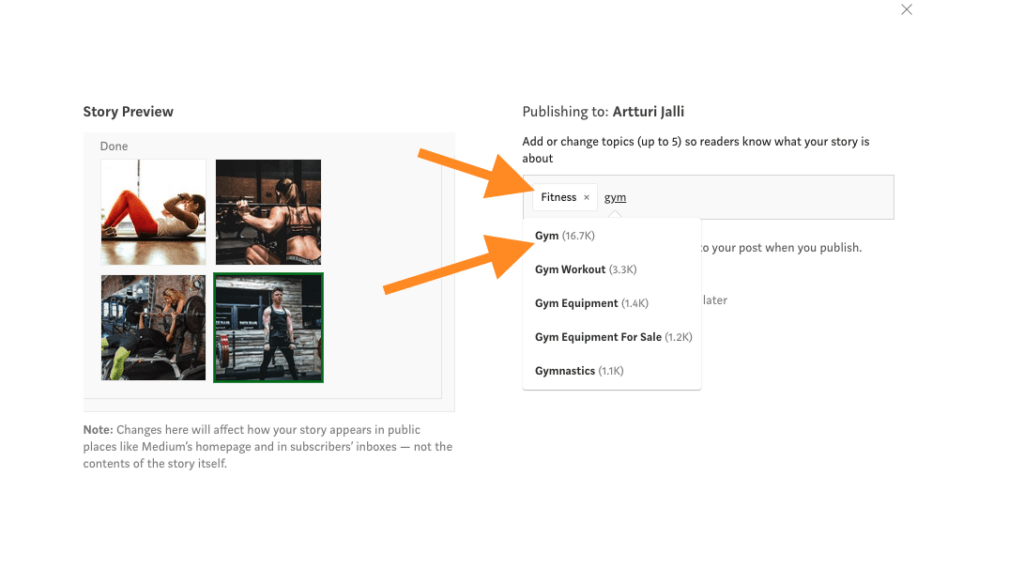
Don’t use categories for views. Instead, choose categories that best match your story’s content.
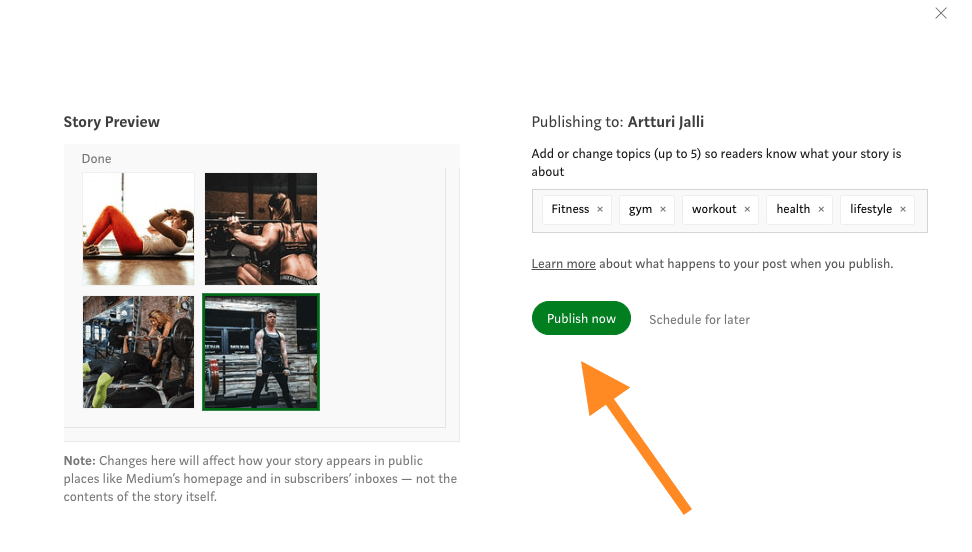
Then just hit “Publish” (or schedule for later if you want to auto-publish later on):
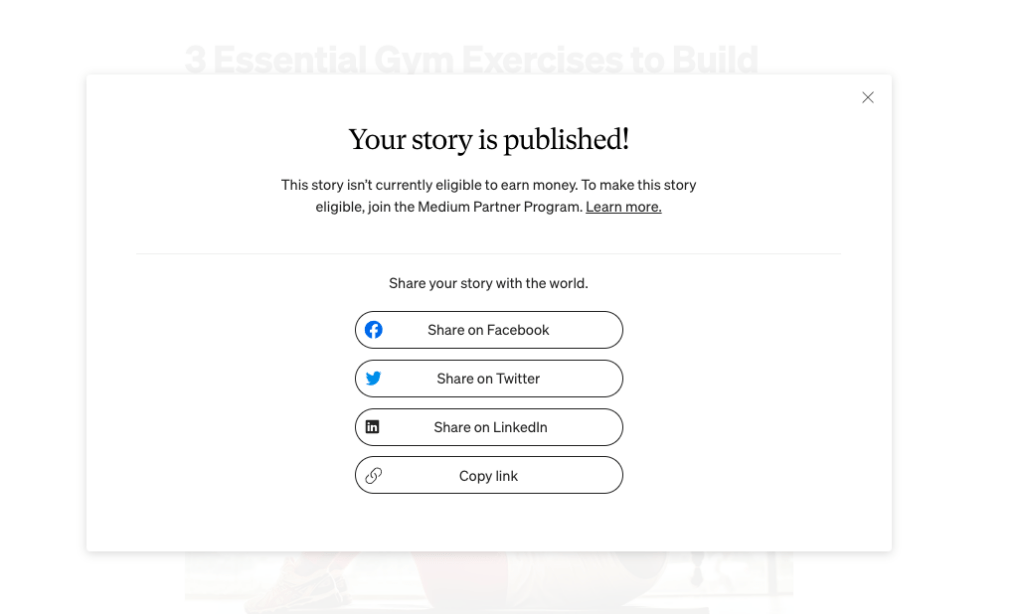
And there’s your first Medium story.
Growth Plan
Now that you know how to write on Medium, it’s time to talk about growth.
On Medium, it’s not enough to just write stories and hope for it to go viral. Instead, you need a full-on strategy!
I’ve had 100k+ reads on my stories and 3.5 years of experience growing on the platform. I’m excited to share that I have a free course that teaches you how to do exactly what I was able to do!
Access the Free Medium Blogging Course here!
Free Medium Course